Overview
To authenticate with Tableau, you need:- Personal Access Token - This is the name/label you assigned to the Personal Access Token when you created it in Tableau.
- Personal Access Token Secret - This is the secret/token string that was generated along with the token name acting like a password.
- HostName - This is your Tableau server domain or host URL (not including protocol).
- API Version - This is the version of the Tableau REST API you want to connect to which must match the version supported by your Tableau environment.
- Content Url (Optional) - This identifies the site within your Tableau instance that you want to sign in to.
Prerequisites:
- You must have an active Tableau instance.
Instructions:
Step 1: Enabling Personal Access Token
- If this is enabled, you can skip to step 2 below.
- Log in to your Tableau instance and naviagate to Settings > General.
- Scroll down to Personal Access Tokens section.
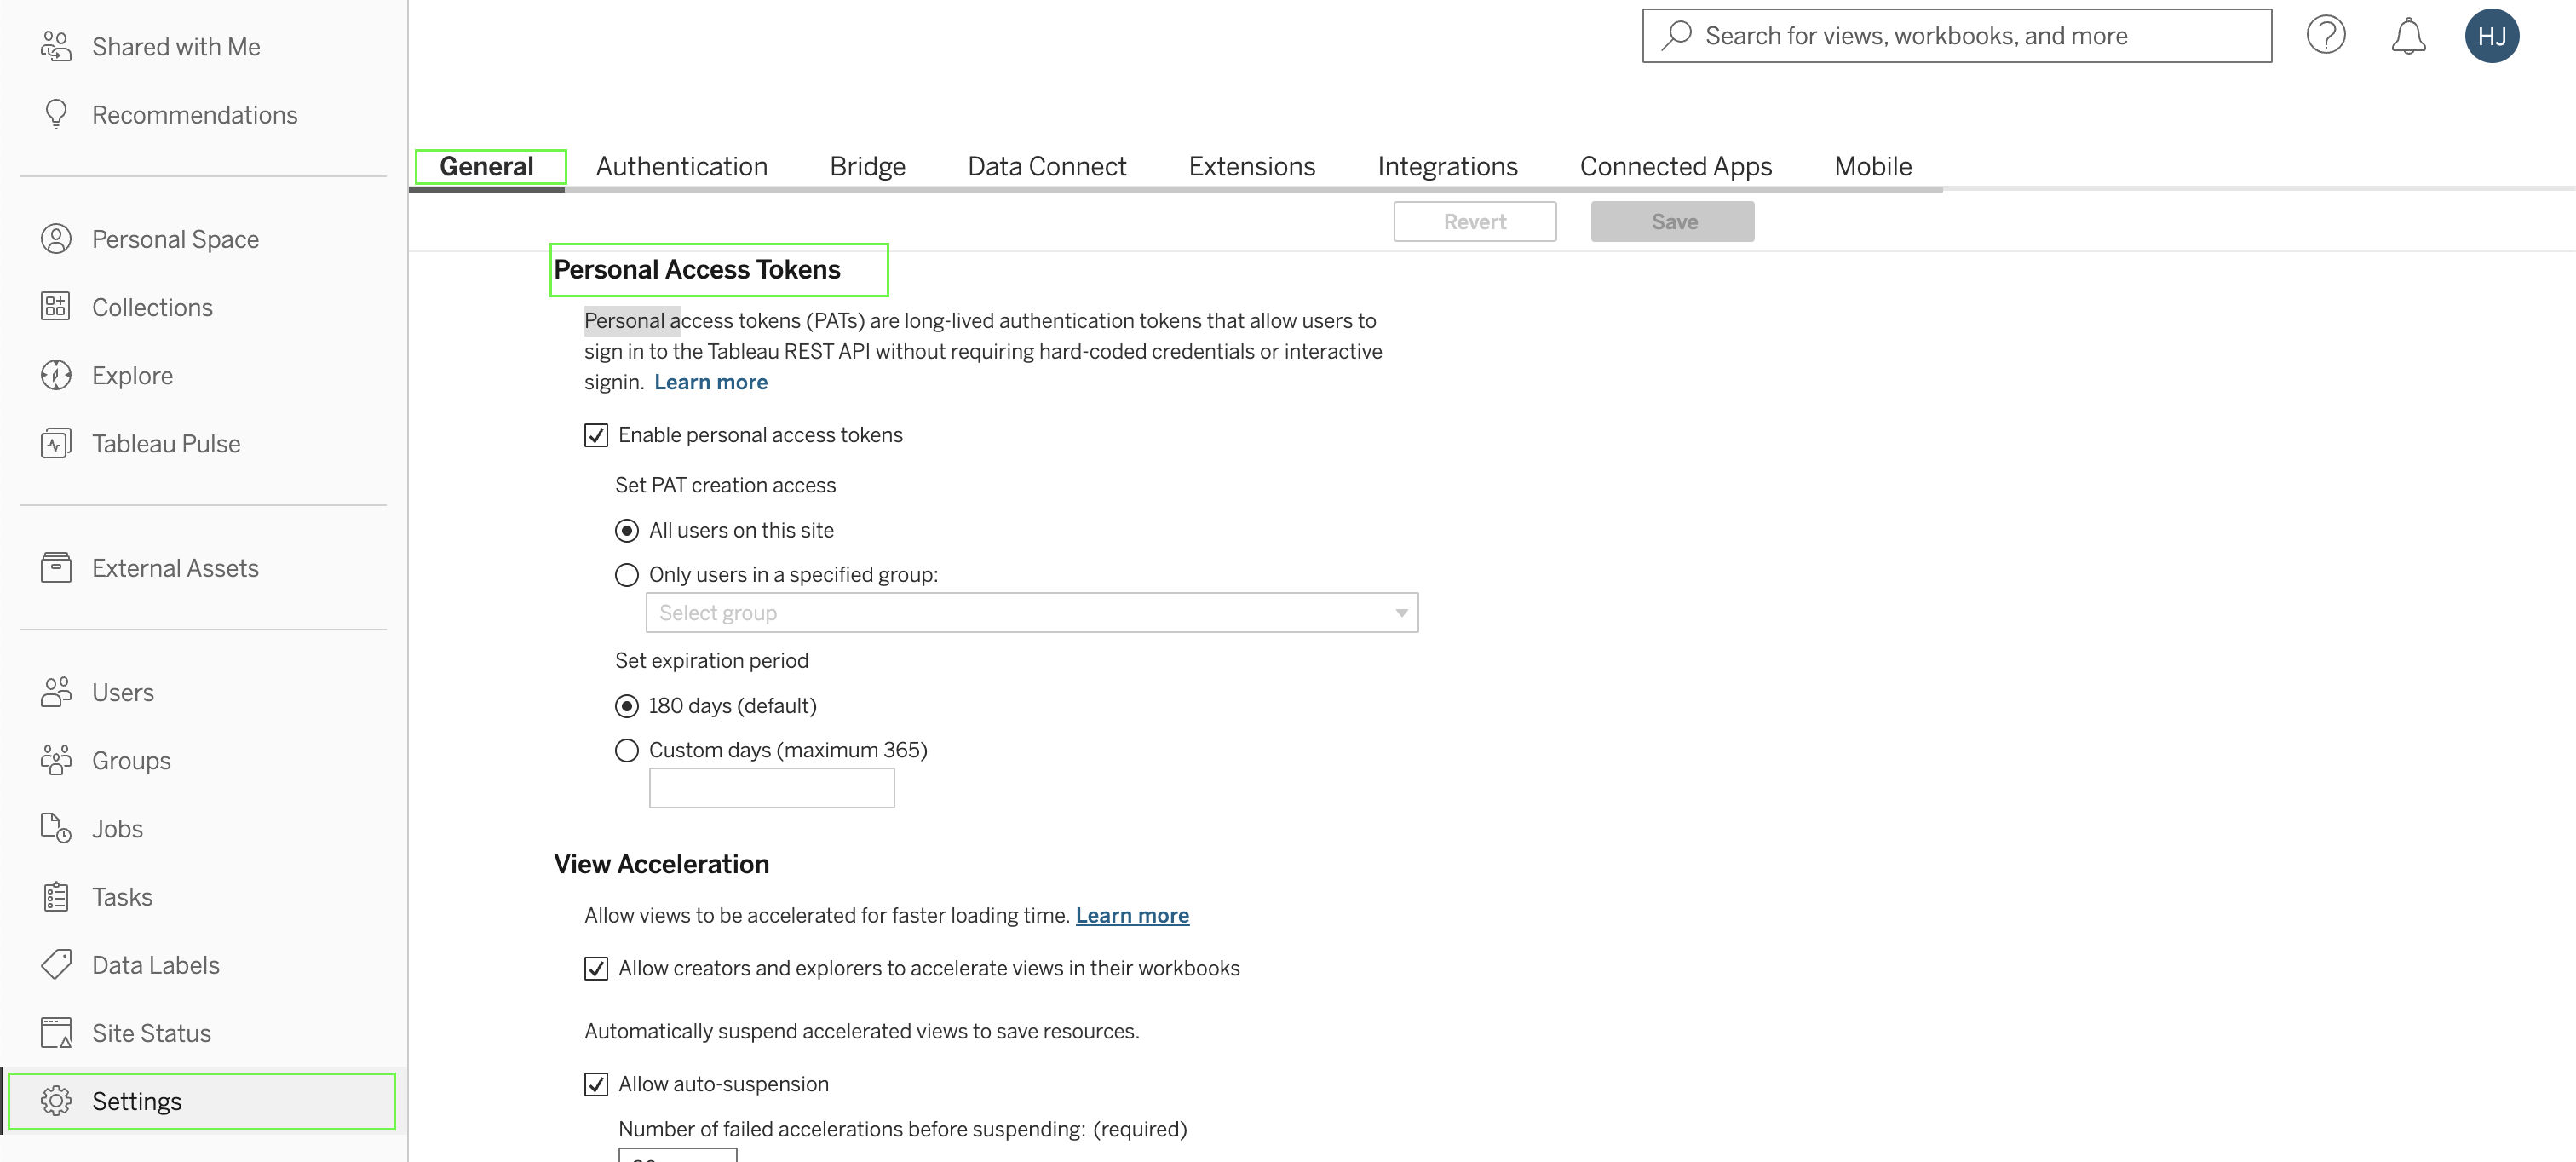
- Ensure the Enable personal access tokens checkbox is selected. You can choose to either allow all users to create PATs or limit access to a specified group.
- If restricting access to a group, select the Only users in the specified group radio button and choose the relevant group from the list. Note that a group must be selected to save this setting.
- Under Set expiration period, opt for either the 180 days radio button or enter a custom value (1 through 365) in the Custom days text box.
- Once configured, click the Save button at the top or bottom of the page to apply the changes.
Step 2: Generating your Personal Access Token
- Once you’ve confirmed that Personal Access Tokens are enabled, click on your profile icon at the top right, then select My Account Settings.
- Navigate to the Settings tab, then scroll down to Personal Access Tokens section.
- Enter a name for your Personal Access Token, this will serve as your token’s identifier, then click Create Token.
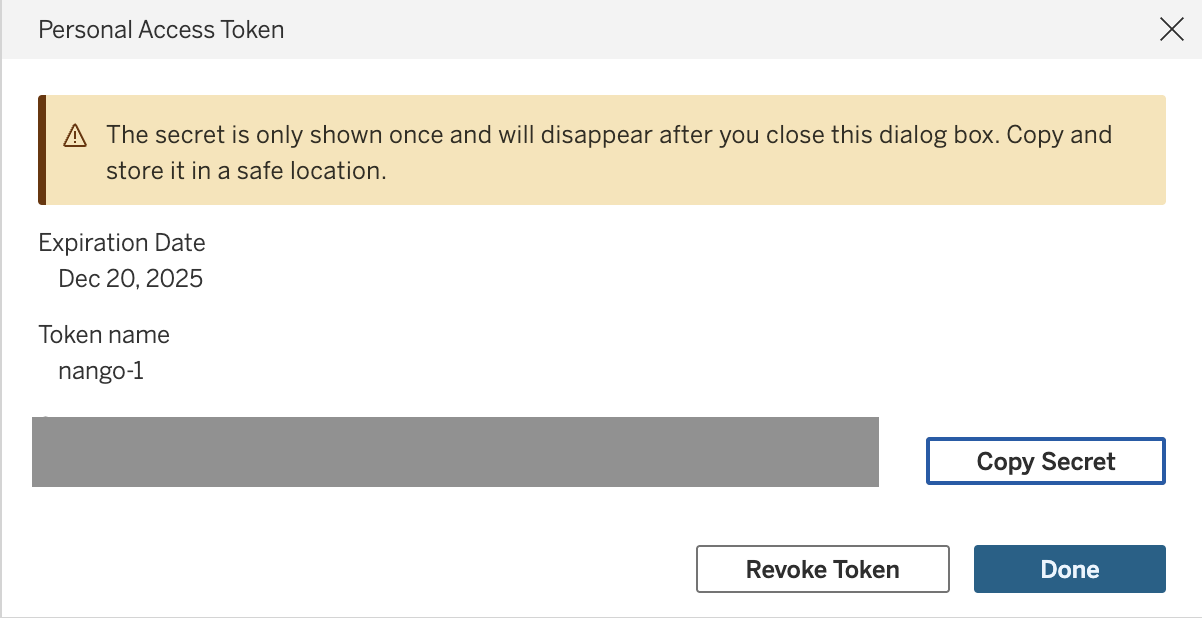
- A secret will be generated, this is your Personal Access Token Secret. Make sure to copy and store it securely, as it will not be shown again.
Step 3: Finding your HostName
- Look at your browser’s address bar. Your Hostname is everything that appears after
https://and before/#/. For example, if your URL is:https://dub01.online.tableau.com/#/site/test-eaec4a3fe2/user/external/dummy@nango.dev.com/settings, your HostName isdub01.online.tableau.com.
Step 4: Finding your API Version
- This is the REST API version you want to connect to. You can find the full list of supported versions here.
Step 5: Finding your Content Url
- Look at your browser’s address bar. Your Content URL is the value that appears immediately after
/site/and before the next/. For example, if your URL is:https://dub01.online.tableau.com/#/site/test-eaec4a3fe2/user/external/dummy@nango.dev.com/settings, your Content Url istest-eaec4a3fe2.
For Tableau Server, you can leave this field blank to use the default site. For Tableau Cloud, a valid Content URL is required.
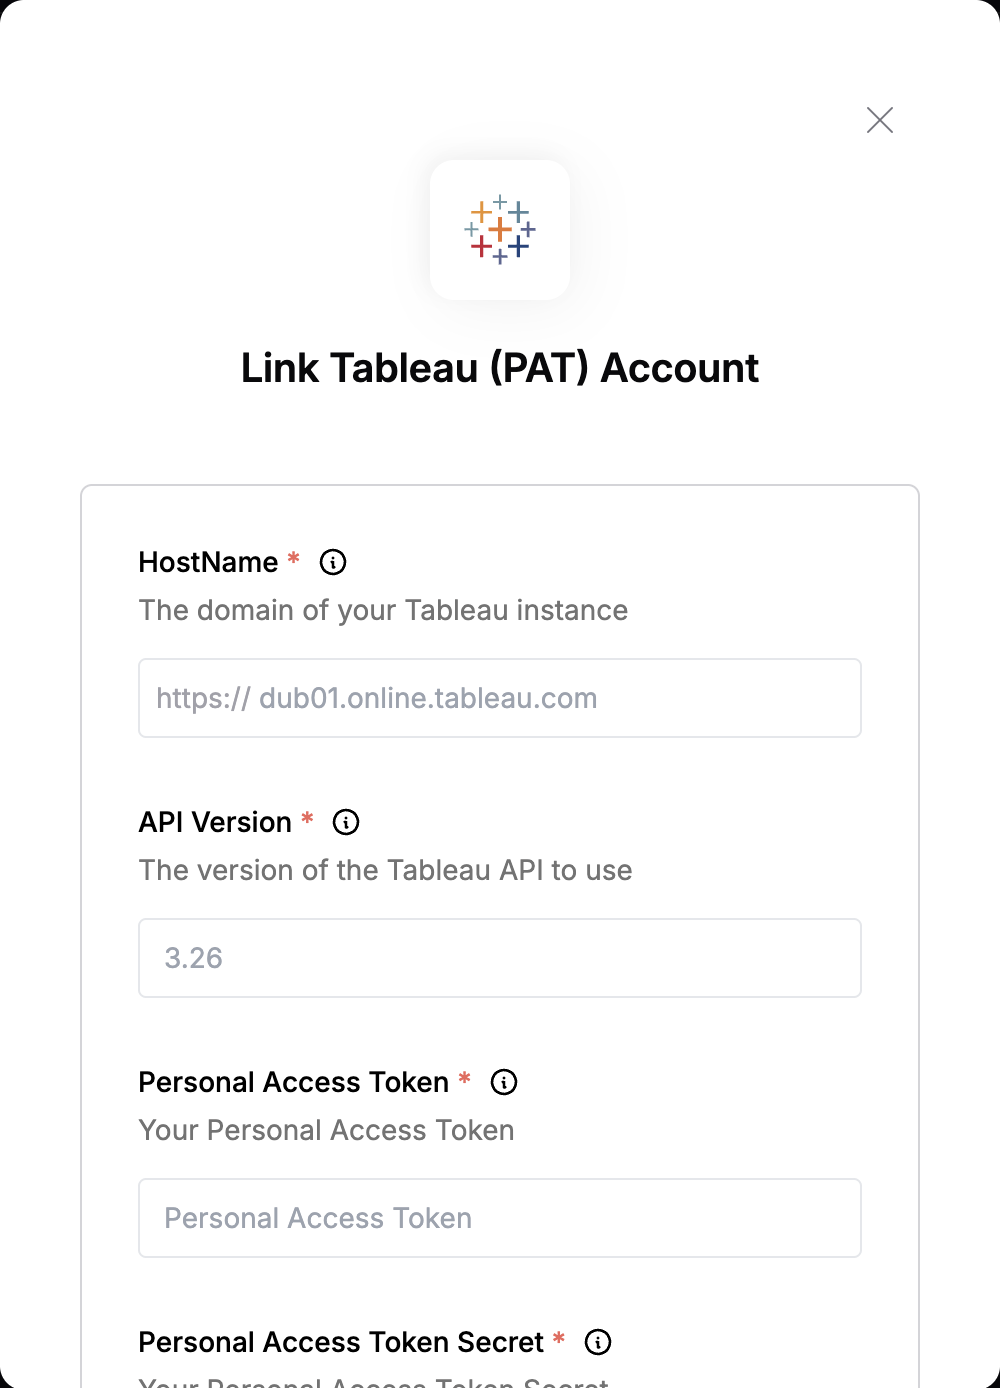
Step 6: Enter credentials in the Connect UI
Once you have your credential:- Open the form where you need to authenticate with Tableau.
- Enter your credentials in their respective fields.
- Submit the form, and you should be successfully authenticated.