Overview
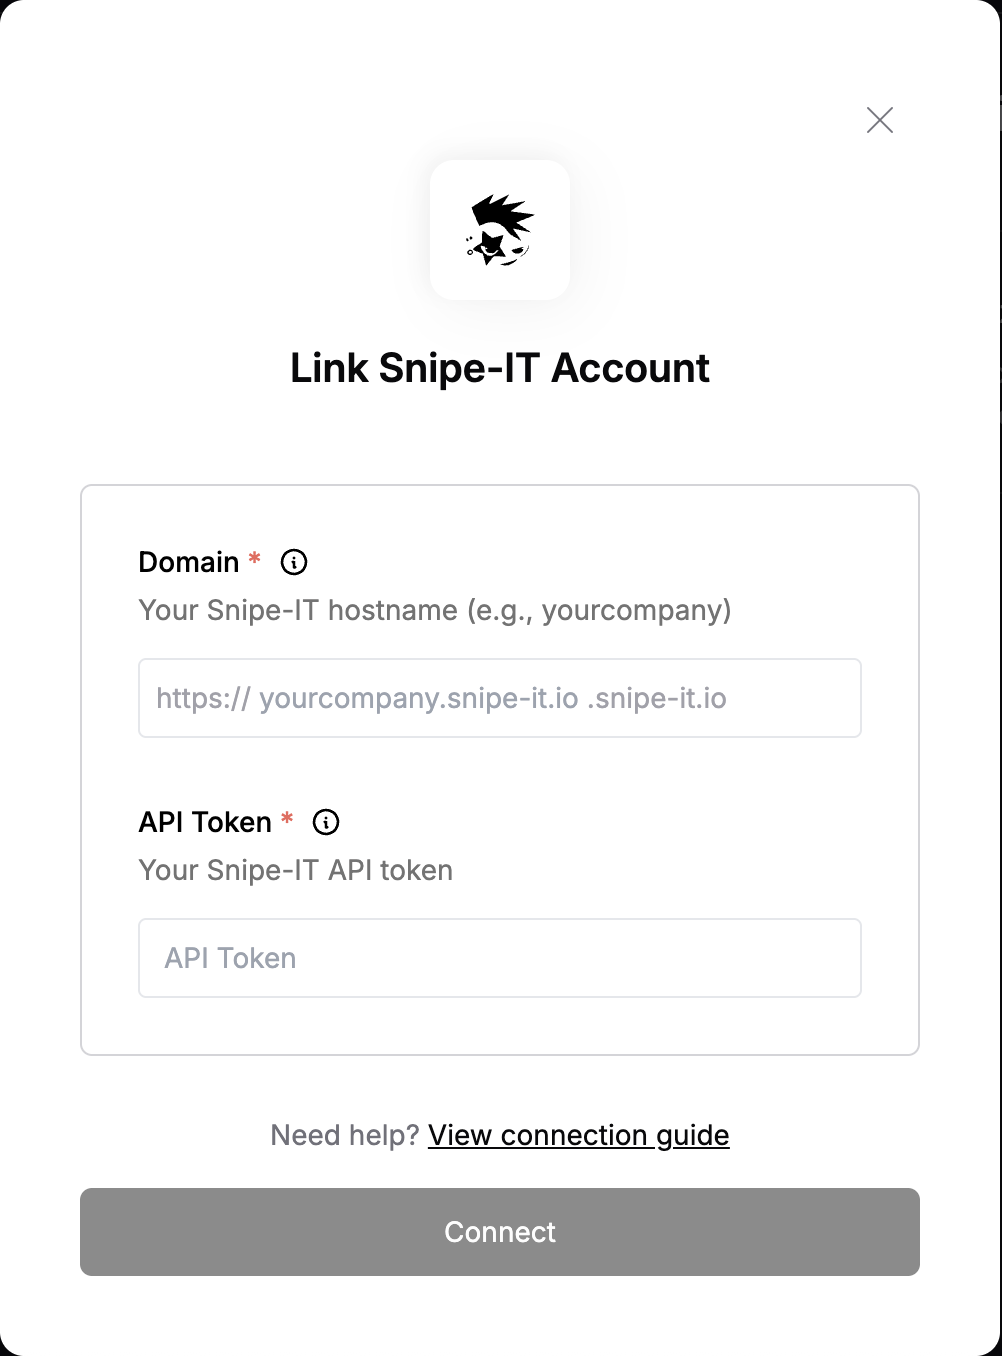
To authenticate with Snipe-IT, you need:- API Token - A token that grants Nango permission to interact with Snipe-IT’s API resources and services.
- Domain - Your Snipe-IT instance URL (e.g., yourcompany.snipe-it.io).
Prerequisites:
- You must have an account with Snipe-IT (either self-hosted or cloud instance).
- You must have admin privileges to generate API tokens.
Instructions:
Step 1: Create an API Token
- Log in to your Snipe-IT instance (e.g.,
https://yourcompany.snipe-it.io). - Navigate to Account > API Keys from the top-right user menu.
- Click Create New Token.
- Enter a Name for your token (e.g., “Nango Integration”).
- Click Save to generate the token.
- Copy the generated API token immediately (it will only be shown once).
Step 2: Finding Your Domain
- Note your domain URL (the part before
/adminin your browser URL).
For the demo instance at demo.snipe-it.io, you can use username
admin and password password to test the integration.Step 3: Enter credentials in the Connect UI
Once you have your API Token and Domain:- Open the form where you need to authenticate with Snipe-IT.
- Enter your Domain (e.g.,
yourcompany.snipe-it.io- withouthttps://). - Enter your API Token in its respective field.
- Submit the form, and you should be successfully authenticated.