Overview
To authenticate with Jira Data Center (API Key), you will need:- Instance Base Url - The root URL of your Jira Data Center instance.
- API Key - A key that grants Nango permission to interact with your Jira Data Center instance’s APIs, resources, and services.
Prerequisites:
- You must have one of the following Atlassian applications installed (Data Center or Server edition):
- Jira Core 8.14 or later
- Jira Software 8.14 or later
- Jira Service Management 4.15 or later
Instructions:
Step 1: Finding Your Instance Base Url
- Log in to your Jira Data Center instance.
- Look at the URL in your browser’s address bar. Your Instance Base URL is the text before the first
/, where the main part of the URL ends (e.g., https://jira.yourcompany.net).
Step 2: Generating Your API Key
- Click on your profile picture at the top right of the screen.
- Select Profile.
- In your profile, go to Personal Access Tokens from the left-hand menu.
- Click Create token.
- Enter a name for your token.
(Optional) Set an expiration date for security purposes.
- Click Create to generate the token.
You won’t be able to see your token again once you select Close.
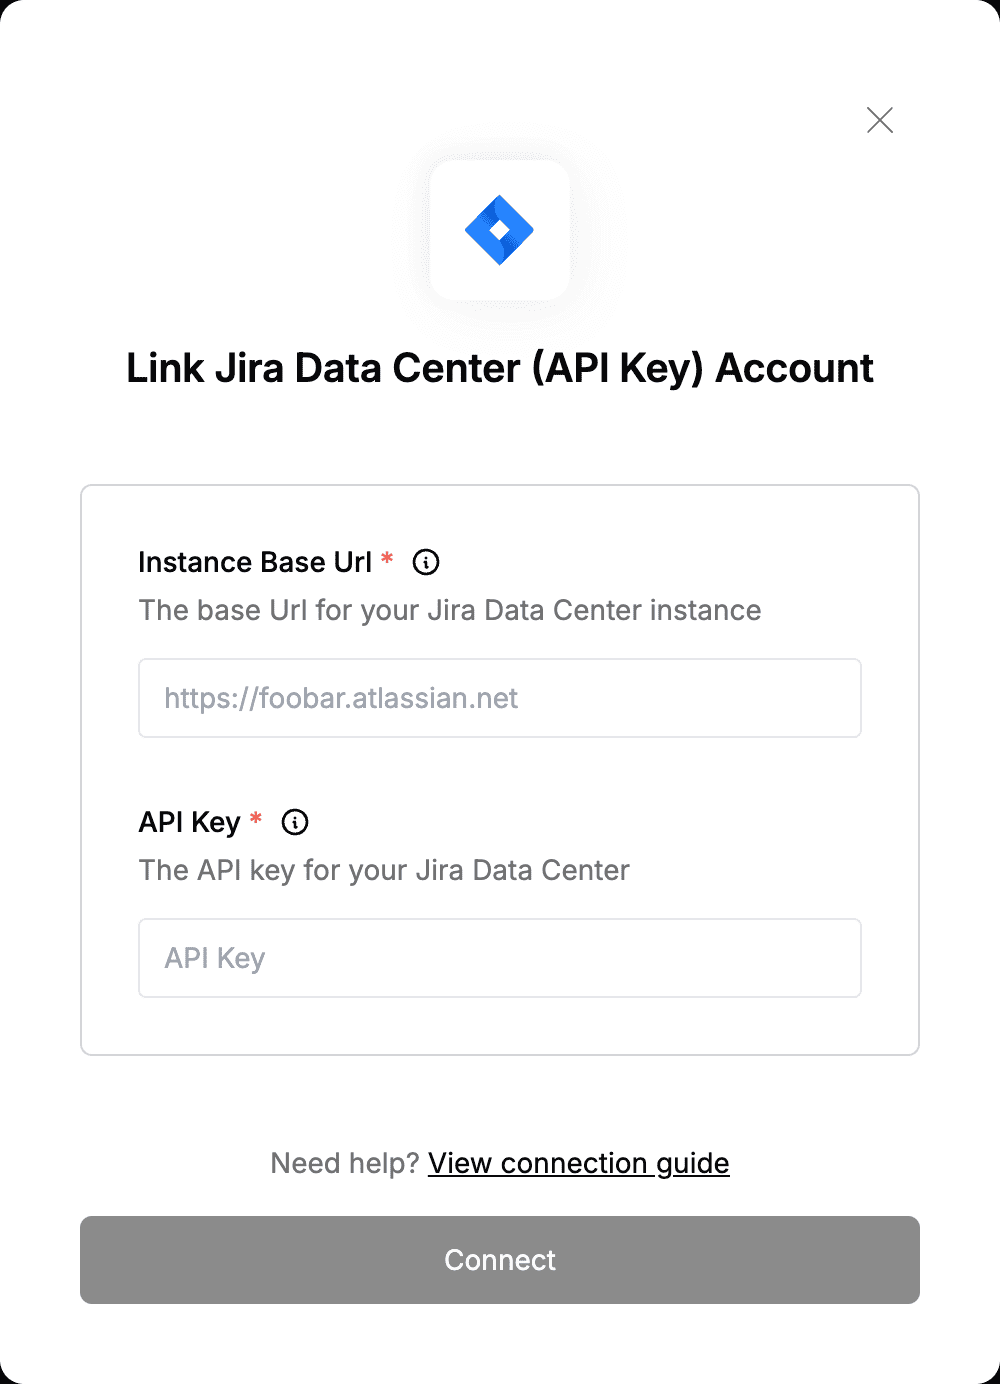
Step 3: Enter credentials in the Connect UI
Once you have your Instance Base Url and API Key:- Open the form where you need to authenticate with Jira Data Center (API Key).
- Enter your Instance Base Url and API Key in their designated fields.
- Submit the form, and you should be successfully authenticated.