Overview
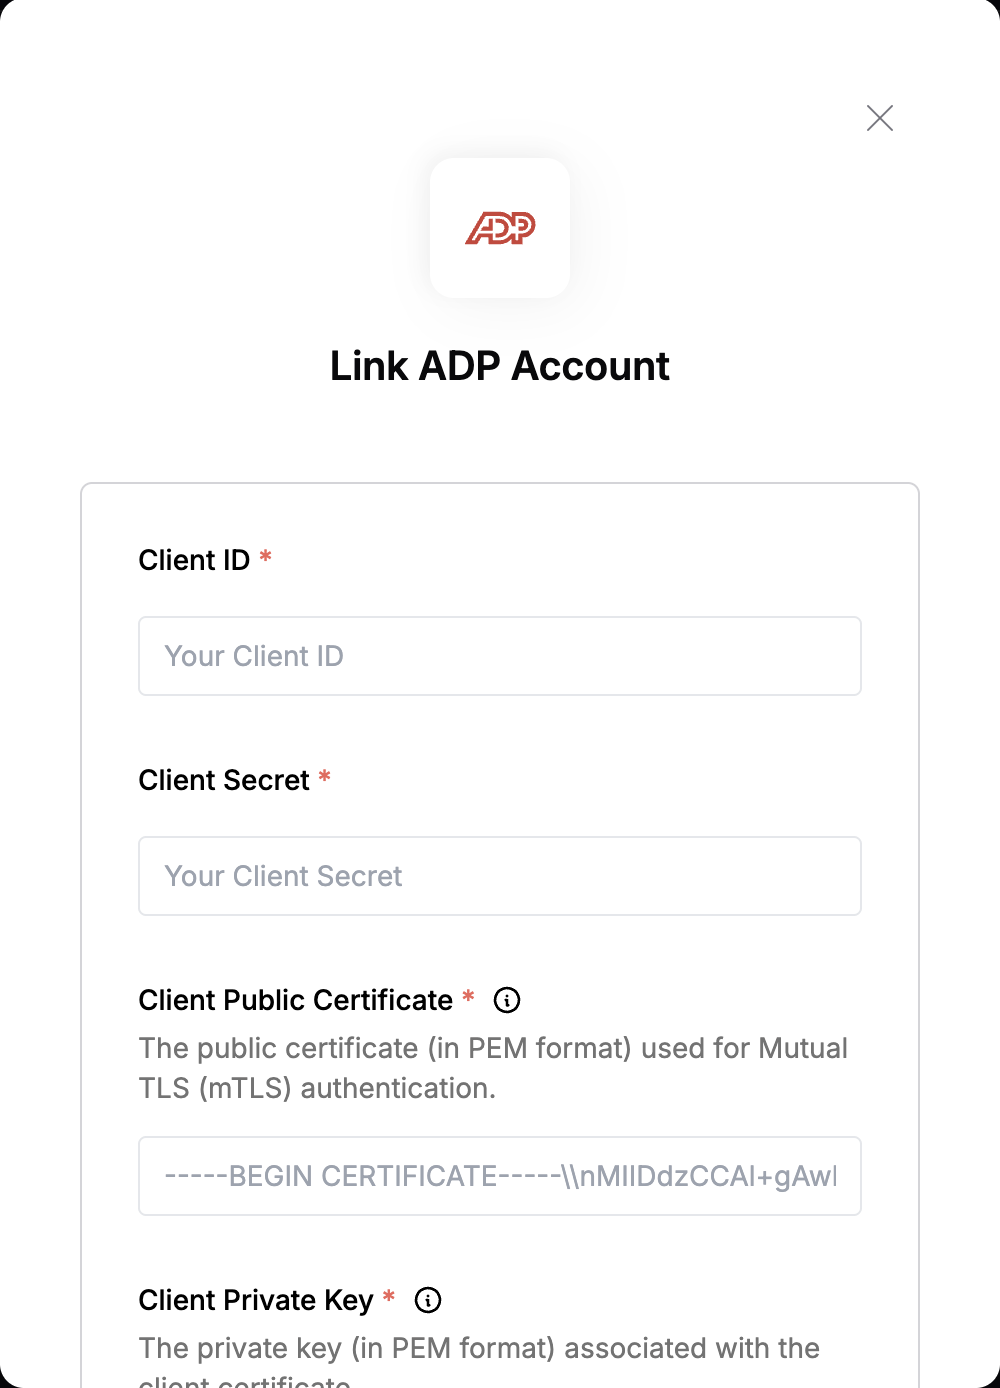
To authenticate with ADP, you need:- Client ID - A unique identifier for your client.
- Client Secret - A confidential key used to authenticate the identity of the application (client).
- Client Public Certificate - The public certificate (in PEM format) used for Mutual TLS (mTLS) authentication.
- Client Private Key - The private key (in PEM format) associated with the client certificate, used for establishing a secure TLS connection.
Prerequisites:
- You must have an account with ADP.
Instructions:
Step 1: Finding Your Client Credentials
- Log in to your ADP Developer account.
- Navigate to the Apps section of the Developer Portal.
- Click on the Register App button.
- Fill in the required information for your app.
- Agree to the ADP Developer Terms of Service and Privacy Policy.
- Click the Submit button to complete the app registration process.
- Once you are done with the registration process, you can obtain your credentials by navigating to the Apps section of the Developer Portal.
- Click on the name of the app you just registered above.
- Click on the Credentials tab to view your app’s Client ID and Client Secret.
Step 2: Generating the Private Key and Certificate Signing Request
- To authenticate with ADP APIs using Mutual TLS (mTLS), you’ll need to generate a private key and a Certificate Signing Request (CSR). This allows ADP to issue a signed certificate used for secure communication.
- Install OpenSSL
- Windows: Download and install OpenSSL Light from http://slproweb.com/products/Win32OpenSSL.html
- Mac: OpenSSL is already included on macOS. You can skip to step 3 and use Terminal.
- Open a Command Prompt and Navigate to OpenSSL
cmd.exe and navigate to the OpenSSL binary directory:
- Generate the Private Key
companyname_auth.key, your private key. Keep it safe and do not share this file.
- Generate the Certificate Signing Request (CSR)
- Leave the Country, State, Locality, and Challenge Password fields blank
- Use the correct Organization Name that matches your ADP registration
- Set the Common Name as your company name followed by
MutualSSL(e.g.,ExampleCorpMutualSSL) - Avoid using special characters in any of the fields
companyname_auth.csr, which you’ll submit to ADP.
- Next you will need to submit the CSR to ADP. Open the ADP Certificate Signing Tool (no login required)
- Select “Authentication and Transaction Signing” for the certificate type
- Paste the full contents of your
.csrfile, including the header and footer:
-
Provide your:
- Technical contact’s email address, name, and a group email (for renewal notifications)
- Company name
- ADP client ID
(If you’re using ADP Workforce Now, your client ID is the portion after the@in your ADP login.)
- Receive and Save the Signed Certificate
.key and .csr.
✅ Files You’ll Use for Mutual TLS Authentication For API authentication with ADP, you’ll need the following two files:
**companyname_auth.key**— the Client Private Key**companyname_auth.pem**— the Client Public Certificate
Step 3: Enter credentials in the Connect UI
Once you have your Client ID, Client Secret, Client Public Certificate and Client Private Key:- Open the form where you need to authenticate with ADP.
- Enter your credentials in their respective fields.
- Submit the form, and you should be successfully authenticated.