Overview
To connect your 1Password SCIM account, you need to authenticate using an API Key and a SCIM Bridge URL. This allows Nango to securely manage user provisioning, deprovisioning, and access control through the 1Password SCIM API. This guide will help you retrieve your SCIM credentials and set up the connection.Prerequisites
- A 1Password Business or Enterprise account.
- A SCIM Bridge deployed and running on infrastructure that you control.
- A SCIM API Key generated from your 1Password Admin Console.
- The SCIM Bridge URL (e.g.,
https://scim.example.com).
Step 1: Retrieve Your 1Password SCIM API Key
- Log in to your 1Password Admin Console.
- Navigate to Integrations and select SCIM.
- Click View SCIM Bridge to access your SCIM configuration.
-
Generate a new SCIM API Key for authentication.
- Copy the API Key and store it securely, as it will not be shown again.
Step 2: Get Your SCIM Bridge URL
Your SCIM Bridge URL is required for the integration. It typically follows this format: https://scim.yourdomain.com If you’re unsure of your SCIM Bridge URL:- Check with your IT team or 1Password administrator.
- Look in the 1Password SCIM configuration settings.
SCIM Bridge Behavior Based on Identity Provider
🚨 Important Note on Google Workspace, Entra, and Okta:- If your SCIM Bridge is configured for Google Workspace, the SCIM API is disabled. Instead, 1Password pulls data directly using Google APIs rather than SCIM. 🔴 This means that the SCIM integration will not work if Google Workspace is your IdP.
-
If your SCIM Bridge is configured for Entra (Azure AD) or Okta, then SCIM is enabled. In this case:
- The IdP (Identity Provider) will connect to SCIM Bridge to provision and deprovision users.
- The SCIM interface remains active.
- Go to SCIM Bridge Settings in your 1Password Admin Console.
- If your IdP is Google Workspace, SCIM is disabled.
- If your IdP is Entra or Okta, SCIM is enabled and can be used for provisioning.
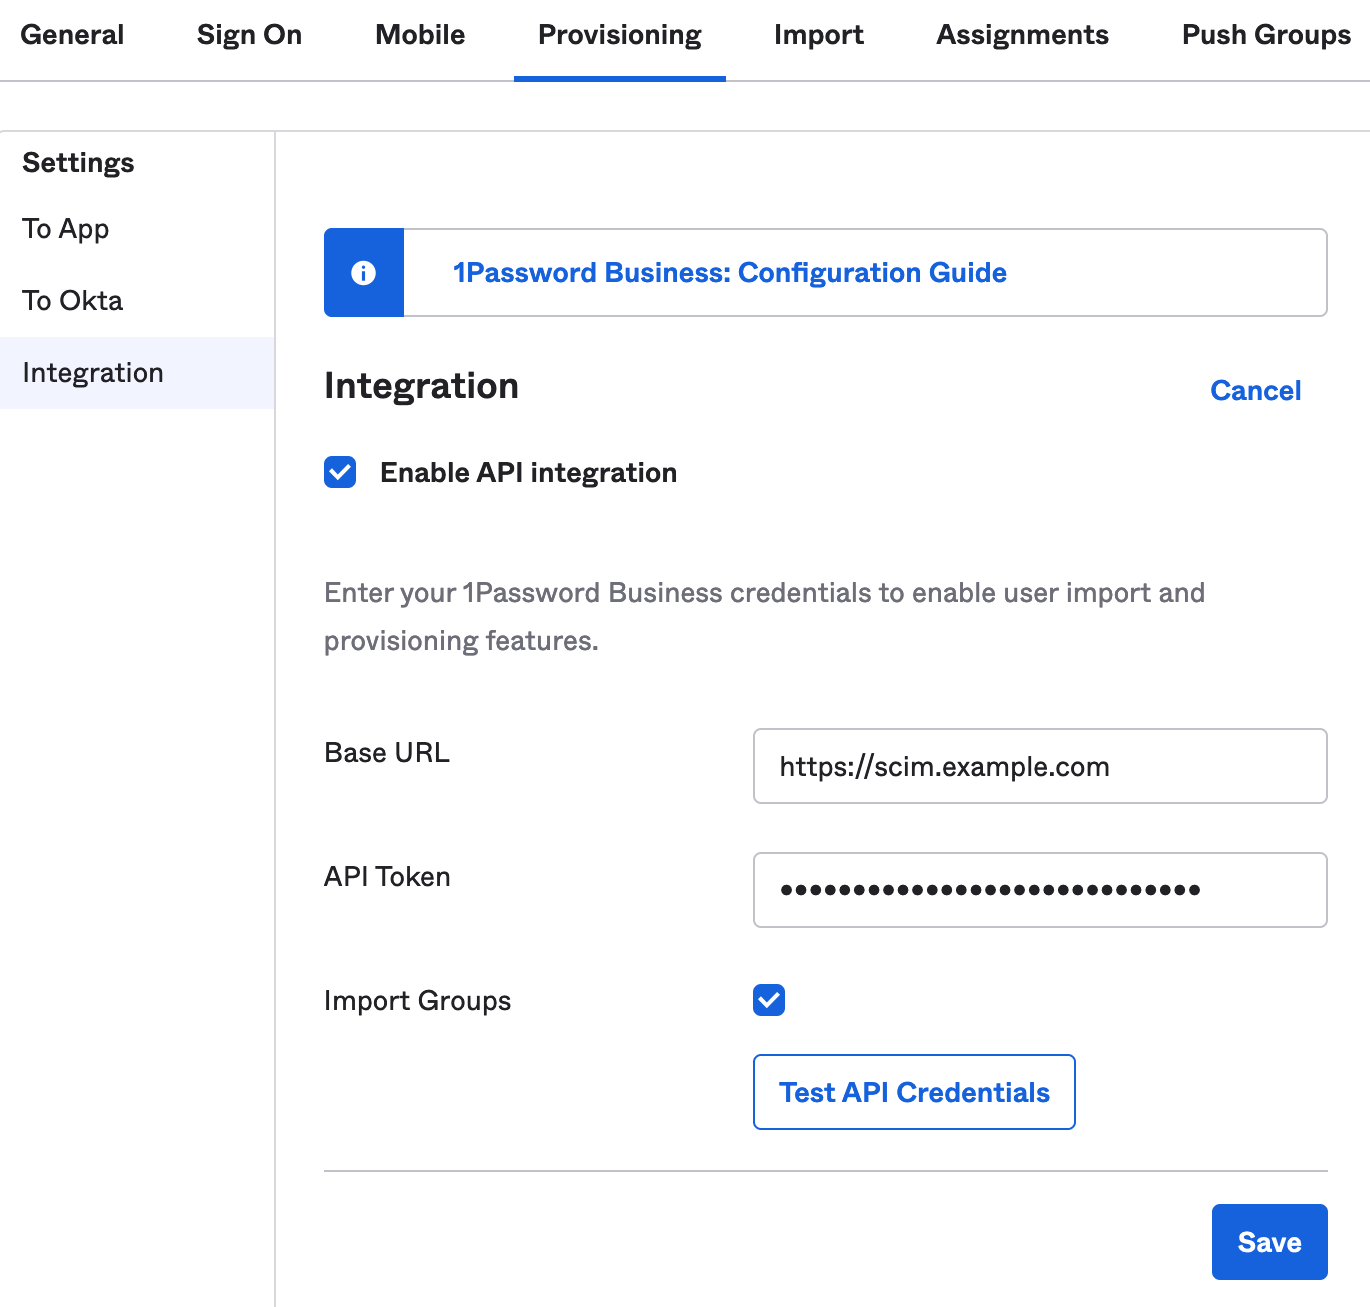
Step 3: Connect Your 1Password SCIM Account
To authenticate with 1Password SCIM, follow these steps:- Open the 1Password SCIM integration setup in Nango.
- Enter your SCIM Bridge URL and API Key.
- Click Connect to validate the credentials and establish the connection.